Capturing life with a smartphone camera
As photographers, we’re so lucky that we live in an age where we’re seemingly glued to our mobile devices. We, therefore always have a camera at hand.
Smartphone cameras are also getting better and better and enabling us to create photos that are quality-wise, almost as good, just as good or even better than with a DSLR.
I always try to creatively capture the scenes of my life, not just with snapshots.
It’s important that I create good-quality images, so I often upload them to my computer first to check the quality of the pixels.
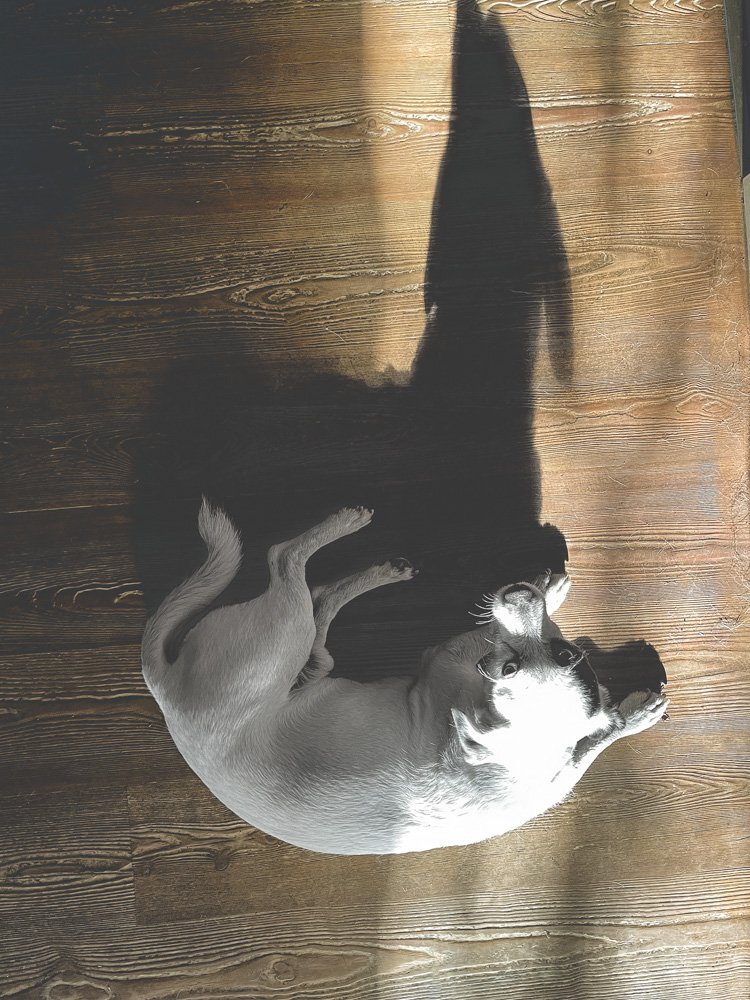
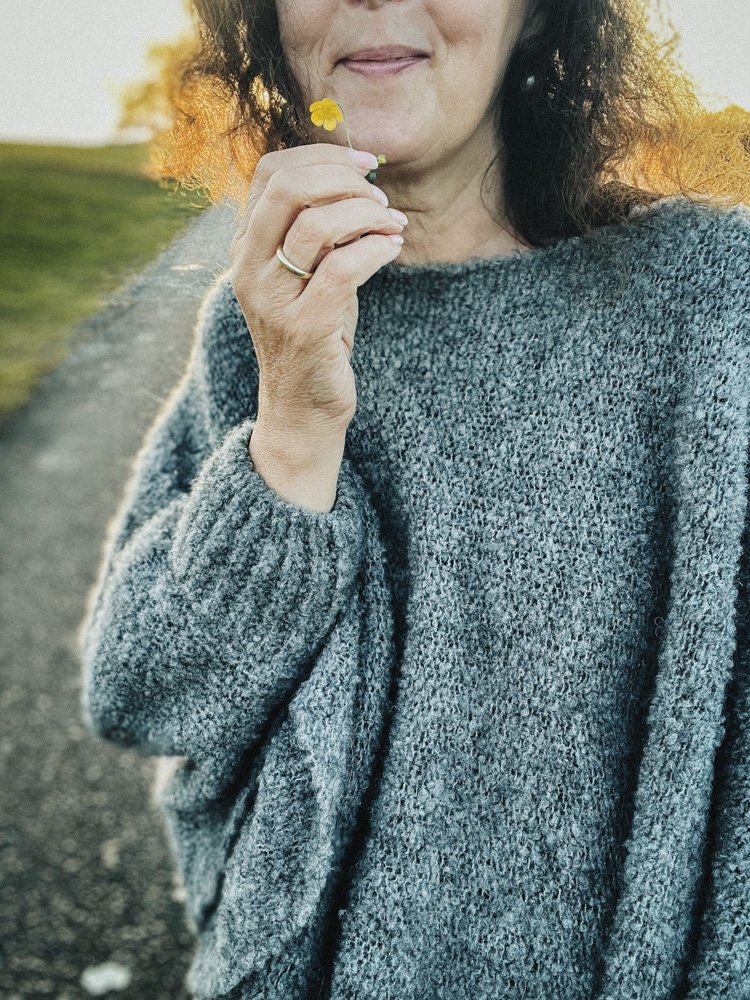
I’m just getting into the hang of setting my camera to RAW mode, and the results are pretty amazing. Here you can see two pictures. Thanks to RAW, I achieved a really good result with the first one, although it was already very dusky. Reducing the exposure during the editing process to enhance the gloominess was also no problem.
With the second photo I forgot to set RAW and it is a bit pixelated (the sky is blotchy - can you see it?):
You may need to activate RAW in your mobile device’s settings. If your mobile device doesn’t have RAW settings, you can obtain them in one of the many apps available:
Camera+ 2 - für iPhone + Android
ProCam 8 - für iPhone + Android
Halide Mark II - für iPhone + Android
There are a couple of image types that I almost always use my iPhone for:
When I want to create a sense of minimalism by placing my main subject at the bottom of the picture:
Smartphone lenses are slightly wide-angled by default and if you switch to 0,5 then you can create great landscape photos. You can also create images like this by holding your phone vertically. I tilt the phone slightly, so the camper is pretty near the bottom. Try not to tilt too much though, because once the trees begin to slope diagonally they’ll quickly begin to look distorted.
I trim the bottom and both sides of the image in the phone’s image editing software until the main subject is pretty near the bottom.
When I take photos of my table top from above:
I can line up the shot with the grid, and the phone is also so light to hold and so it’s easy to keep it straight and take an accurate shot.
When there’s a mix of light and heavy shadows:
Select a point of focus (the thing you want to draw attention to in your photo), by tapping the screen in that place. You’ll notice a little sun icon appears, enabling you to swipe up and down to under or overexpose. In the case of shadows, you’ll need to swipe downwards to darken the exposure, giving your photo more contrast.
Did you enjoy these tips? You can learn everything you need to use your mobile device to capture your life in photos in my workshop, “Creative Smartphone Photography”.
Here are some of the photos you’ll learn how to create from beginning to end:
I always have the end photo in mind. There are particular reasons that I use a specific composition or select the best place to stand and hold my smartphone. Each of my photos has undergone a lengthy edit (even if they don't look over-edited), and the process is different each time. But do you notice how the images all have a similar kind of feel to them?
Let me open my bag of tricks so you can create photos with and in your smartphone that perfectly fit your style EVERY DAY!
The workshop “Creative Smartphone Photography” is included in the SOOP membership. You’ll learn how to capture professional-looking photos with your smartphone’s camera and also receive feedback on your images.


